
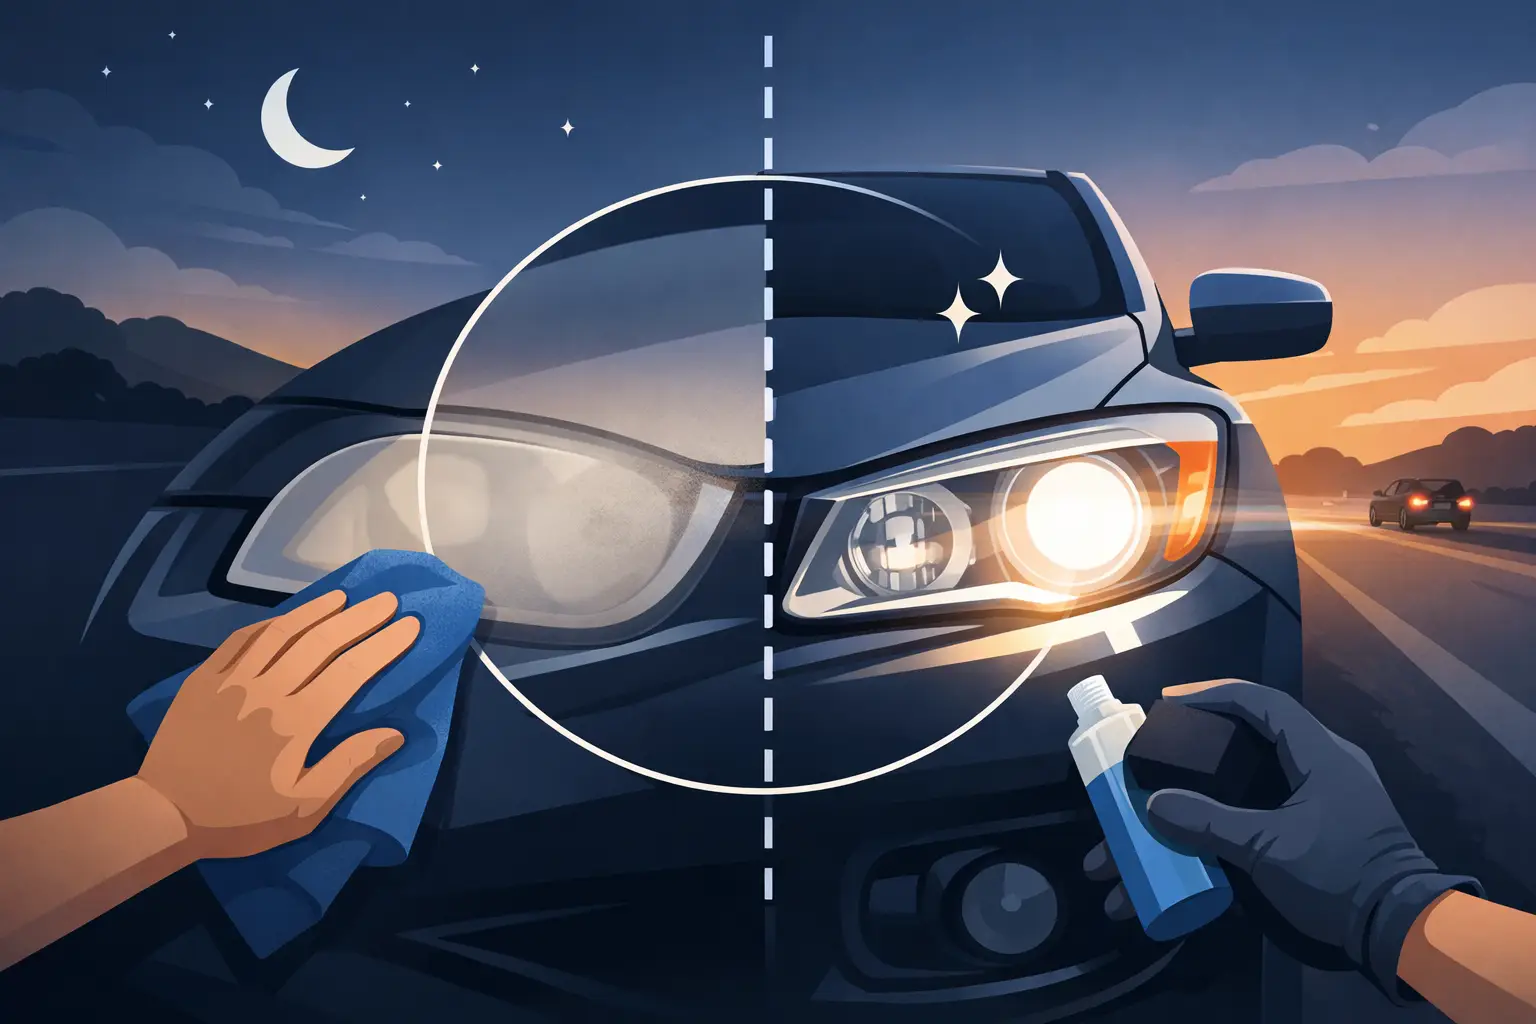
How to Fix Foggy Car Headlights for Clearer Nights
A yellow, hazy headlight can make an otherwise well-kept car look older overnight. More importantly, it can cut down the light reaching the road when you are driving home from work, picking up the kids, or heading through rain on a dark New Jersey evening. Learning how to fix foggy car headlights starts with knowing whether the problem is surface oxidation, trapped moisture, or damage that needs a professional repair.
Why Car Headlights Turn Foggy
Most modern headlights use clear polycarbonate plastic instead of glass. It is durable and lightweight, but years of sunlight, road salt, heat, rain, and debris slowly wear away its protective clear coating. The plastic oxidizes, creating the familiar cloudy, yellowed, or dull appearance.
Fogging is not always the same problem. A light haze on the outside of the lens is often oxidation and may respond well to restoration. Water droplets or a milky film inside the headlight usually point to a failed seal, crack, broken vent, or collision-related damage. Polishing the outside will not solve moisture inside the assembly.
That distinction matters because headlights are safety equipment, not just a cosmetic detail. A clean lens helps project the intended beam pattern. A damaged assembly can scatter light, reduce visibility, and leave oncoming drivers dealing with glare.
How to Fix Foggy Car Headlights at Home
For mild exterior oxidation, a careful restoration can improve clarity and appearance. The goal is not to scrub the lens until it looks temporarily brighter. It is to remove the damaged outer layer evenly, then protect the plastic from oxidizing again.
Start by washing the headlight lens and the painted area around it. Dirt caught under a sanding pad or cloth can scratch the lens and nearby paint. Dry everything completely, then use automotive masking tape to protect the bumper, fender, hood edge, and trim around the headlight.
A quality headlight restoration kit is usually the most reliable DIY route. These kits commonly include sanding discs or pads, polishing compound, and a UV-protective coating. Follow the kit directions closely, especially on the sanding sequence. You generally begin with a coarser grit only when the oxidation is significant, then work through finer grits to remove the sanding marks before polishing.
Keep the lens wet when wet-sanding and use light, even pressure. Do not focus too long on one small spot. Work in overlapping passes across the full lens, checking your progress often. The lens may look uniformly dull before the polishing stage. That is normal. The key is evenness, because uneven sanding can create visible distortion in the beam pattern.
After polishing restores clarity, apply the included UV sealant or a dedicated headlight protective coating. This is the step many do-it-yourself repairs skip, and it is why headlights can turn cloudy again within months. The original factory coating is what protected the plastic from sun damage. Once it is removed, the replacement coating is essential.
What Not to Rely On
Household shortcuts such as toothpaste, baking soda, bug spray, or abrasive cleaners may make a lens look better for a short time. They can also scratch the plastic, strip remaining coating, or leave no meaningful UV protection behind. A quick shine is not the same as a durable repair.
A restoration kit also has limits. It cannot repair a lens that is deeply cracked, severely pitted from road debris, warped by heat, or cloudy on the inside. It cannot fix a headlight that is loose after a bumper impact or one with damaged mounting tabs. In those cases, replacement or collision-related repair is the safer choice.
When Foggy Headlights Need Professional Attention
Bring the vehicle in for an inspection if you see moisture pooling inside the headlight, repeated condensation after dry weather, visible cracks, flickering bulbs, or a beam that points noticeably too high, low, or to one side. These signs can indicate more than a worn lens.
Moisture is especially worth addressing quickly. A small amount of temporary condensation can occur with temperature changes, but standing water or recurring fog inside the assembly means outside air and water are getting past the seal. That can corrode electrical connections, damage bulbs or control modules, and reduce light output. The headlight may need resealing or replacement depending on its condition.
After an accident, even a low-speed bump, have the headlight mounting points and alignment checked. A lens can look intact while the brackets behind it are bent or the assembly is no longer secured properly. A properly restored lens will not help much if the beam is aimed away from the road.
At Kings Auto Body Shop, certified technicians can inspect the lens, housing, mounts, bumper area, and alignment as part of a clear repair recommendation. Whether restoration makes sense or replacement is the right investment, you should know what the vehicle needs before approving work.
Restoration vs. Replacement: Which Is Worth It?
Restoration is often the practical, affordable option when the damage is limited to outside oxidation. It preserves the original assembly, improves curb appeal, and can noticeably improve nighttime visibility. For many vehicles, it is a smart maintenance service when the lenses are yellowed but otherwise solid and dry.
Replacement is usually better when the lens is cracked, the interior is hazy, the reflector is damaged, or water has affected the electrical components. It can also be the right choice for headlights with severe pitting that prevents a clear finish from returning. With newer vehicles, replacement may involve sensors, daytime running lights, adaptive lighting, or calibration requirements, so the job needs to be handled carefully.
Price should not be the only deciding factor. An inexpensive repair that leaves moisture, poor alignment, or unreliable lighting in place can cost more later. Ask for an honest assessment of the assembly’s condition, the expected life of a restoration, and whether replacement parts will need aiming or calibration.
Keep Restored Headlights Clear Longer
Once your headlights are clear, a little routine care can slow the return of oxidation. Wash them with normal car soap rather than harsh degreasers, and do not use dry paper towels or gritty cloths that can scratch the lens. Parking in a garage or under cover when possible also reduces UV exposure.
A UV-safe sealant, ceramic coating made for exterior plastics, or professional protective coating can extend the result. The best option depends on how the vehicle is stored, how often it is driven, and how much sun exposure it gets. A commuter vehicle parked outside every day may need protection refreshed more often than a car kept in a garage.
Check both headlights together. One side may look worse because of parking position or prior damage, but restoring or replacing them as a pair usually gives a more consistent appearance and light output. While you are checking the lenses, turn on the low beams, high beams, turn signals, and daytime running lights to make sure every function is working properly.
Do Not Wait Until Visibility Gets Worse
Cloudy headlights tend to fade gradually, which makes the problem easy to ignore. Then a rainy night, poorly lit road, or early morning commute makes the loss of visibility obvious. If your headlights look yellow, hazy, cracked, or wet inside, address them before you are relying on them in difficult conditions.
Clear lenses help your vehicle look cared for, but the bigger benefit is confidence behind the wheel. Schedule an inspection or restoration promptly, get a straightforward recommendation, and put safer nighttime driving back where it belongs – in clear view.